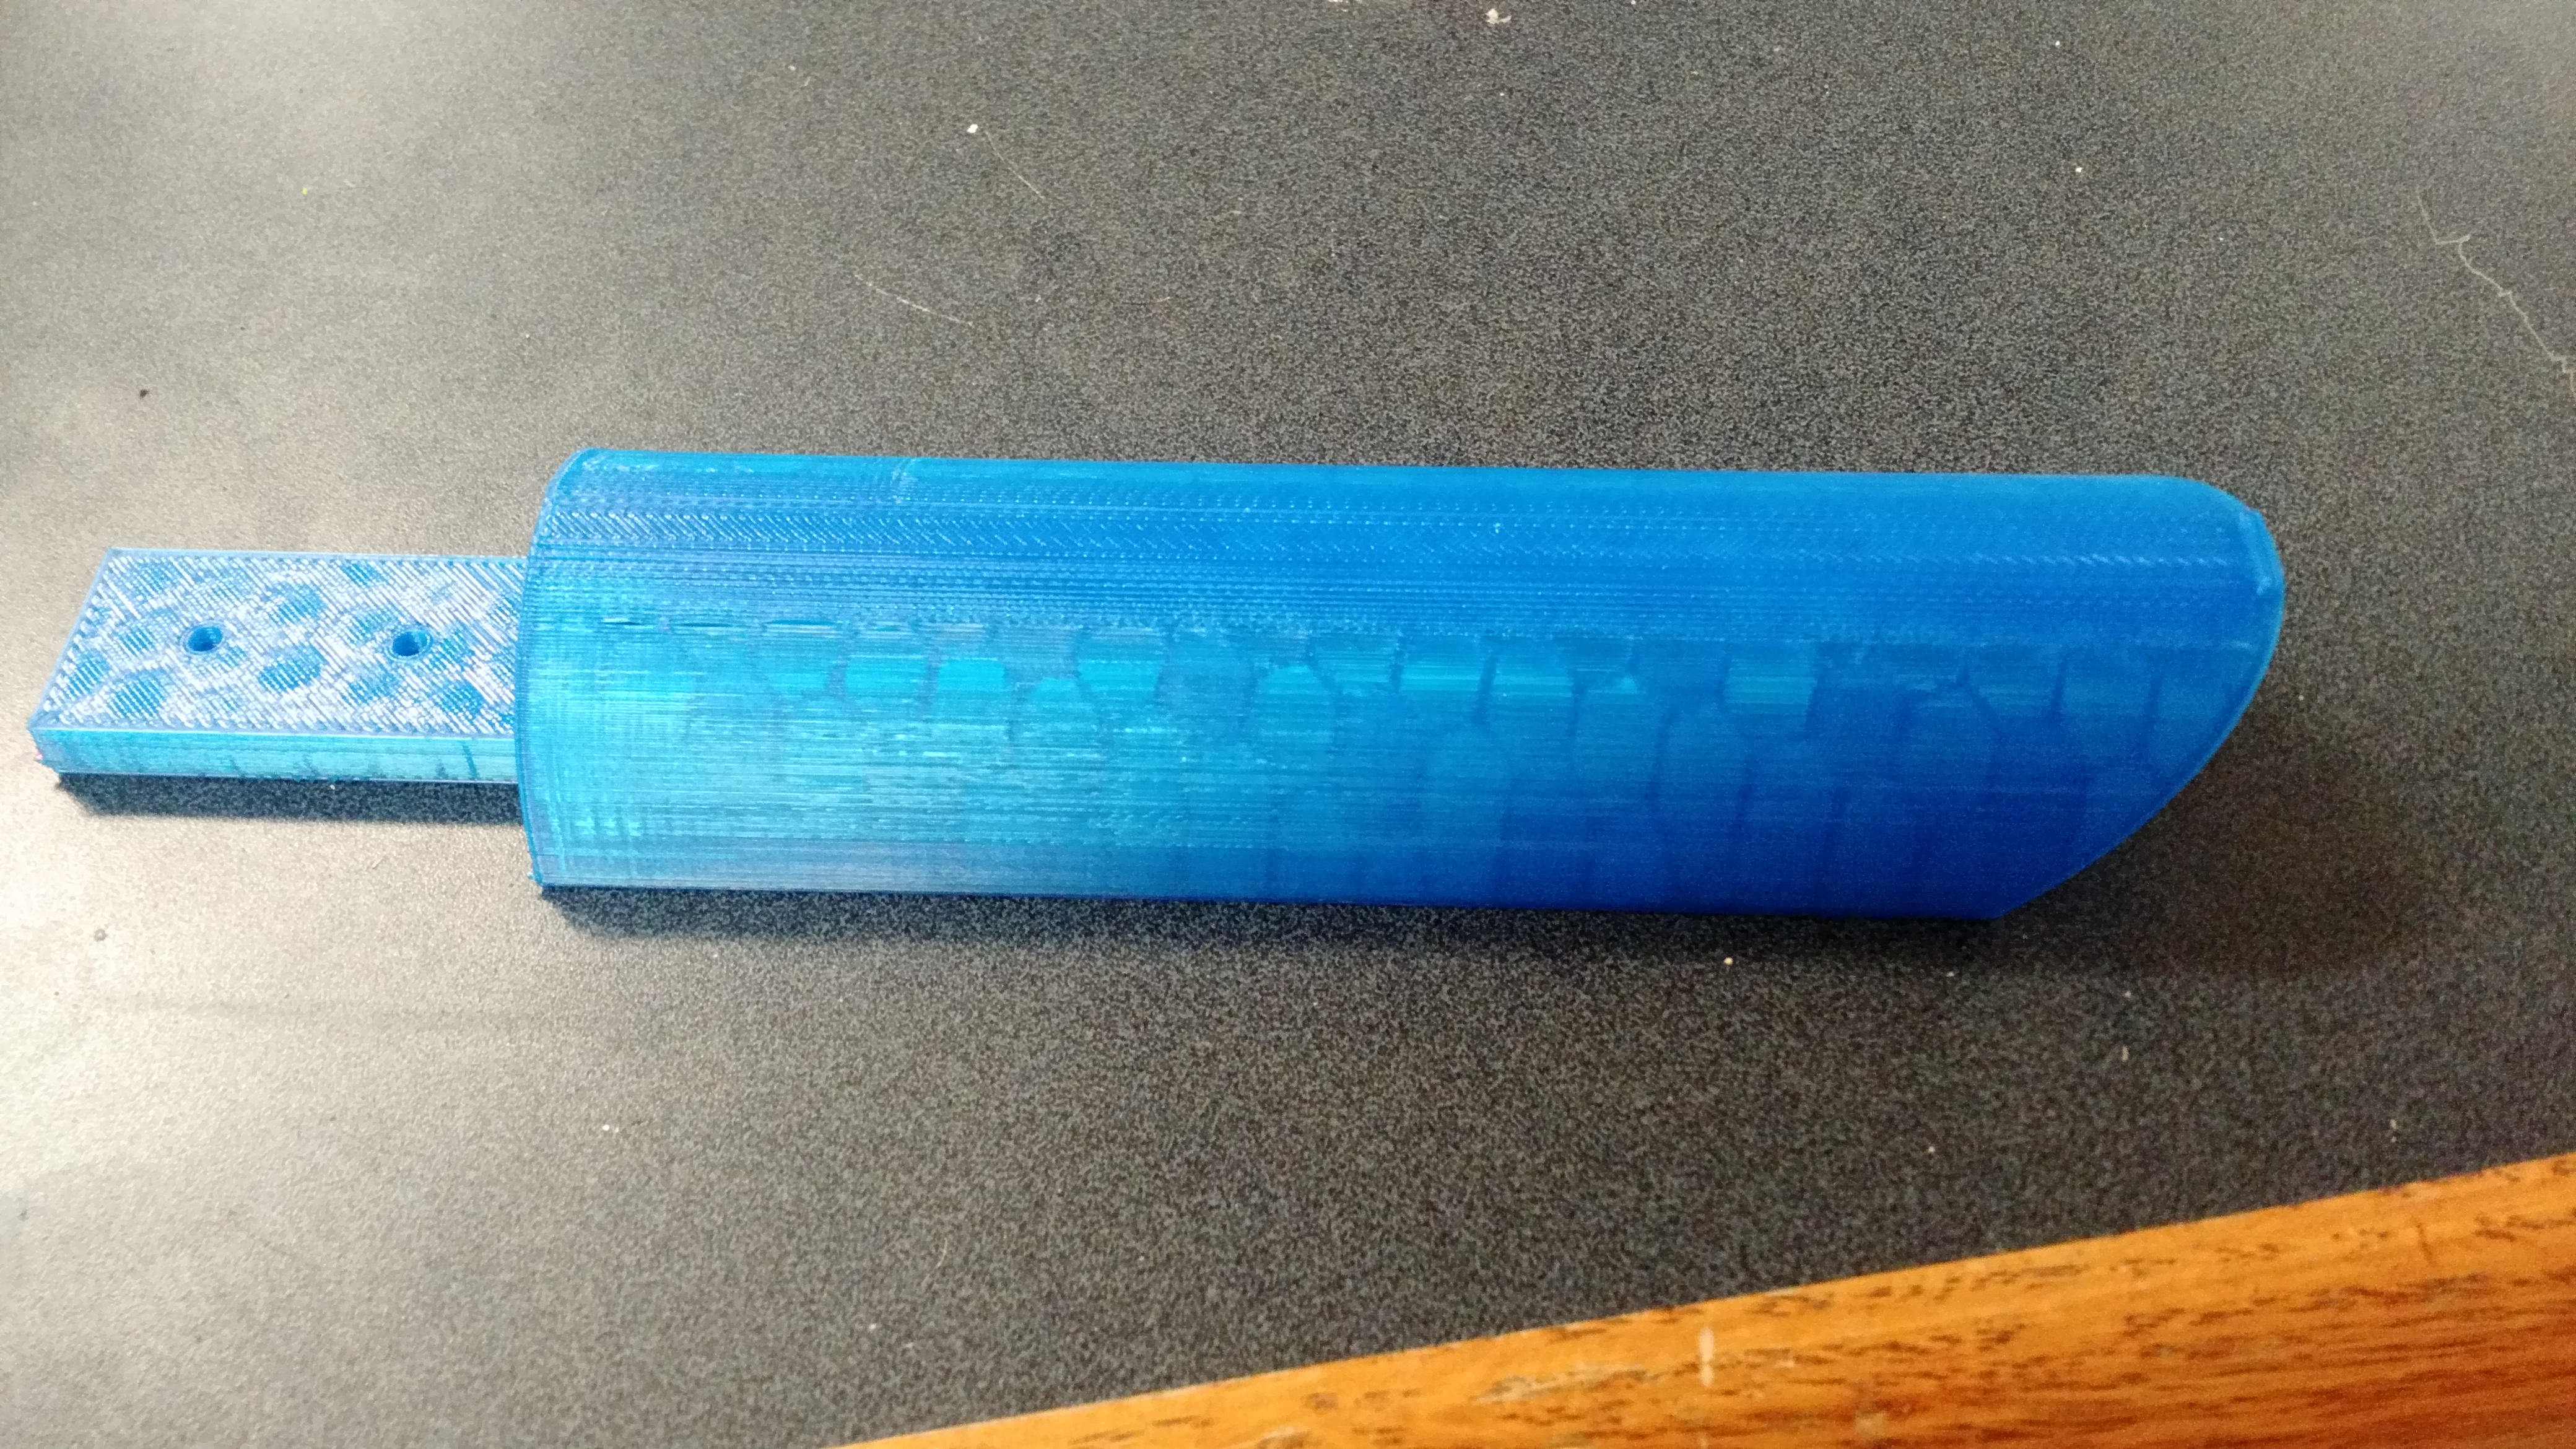
After three hours, the stand is finally printed:
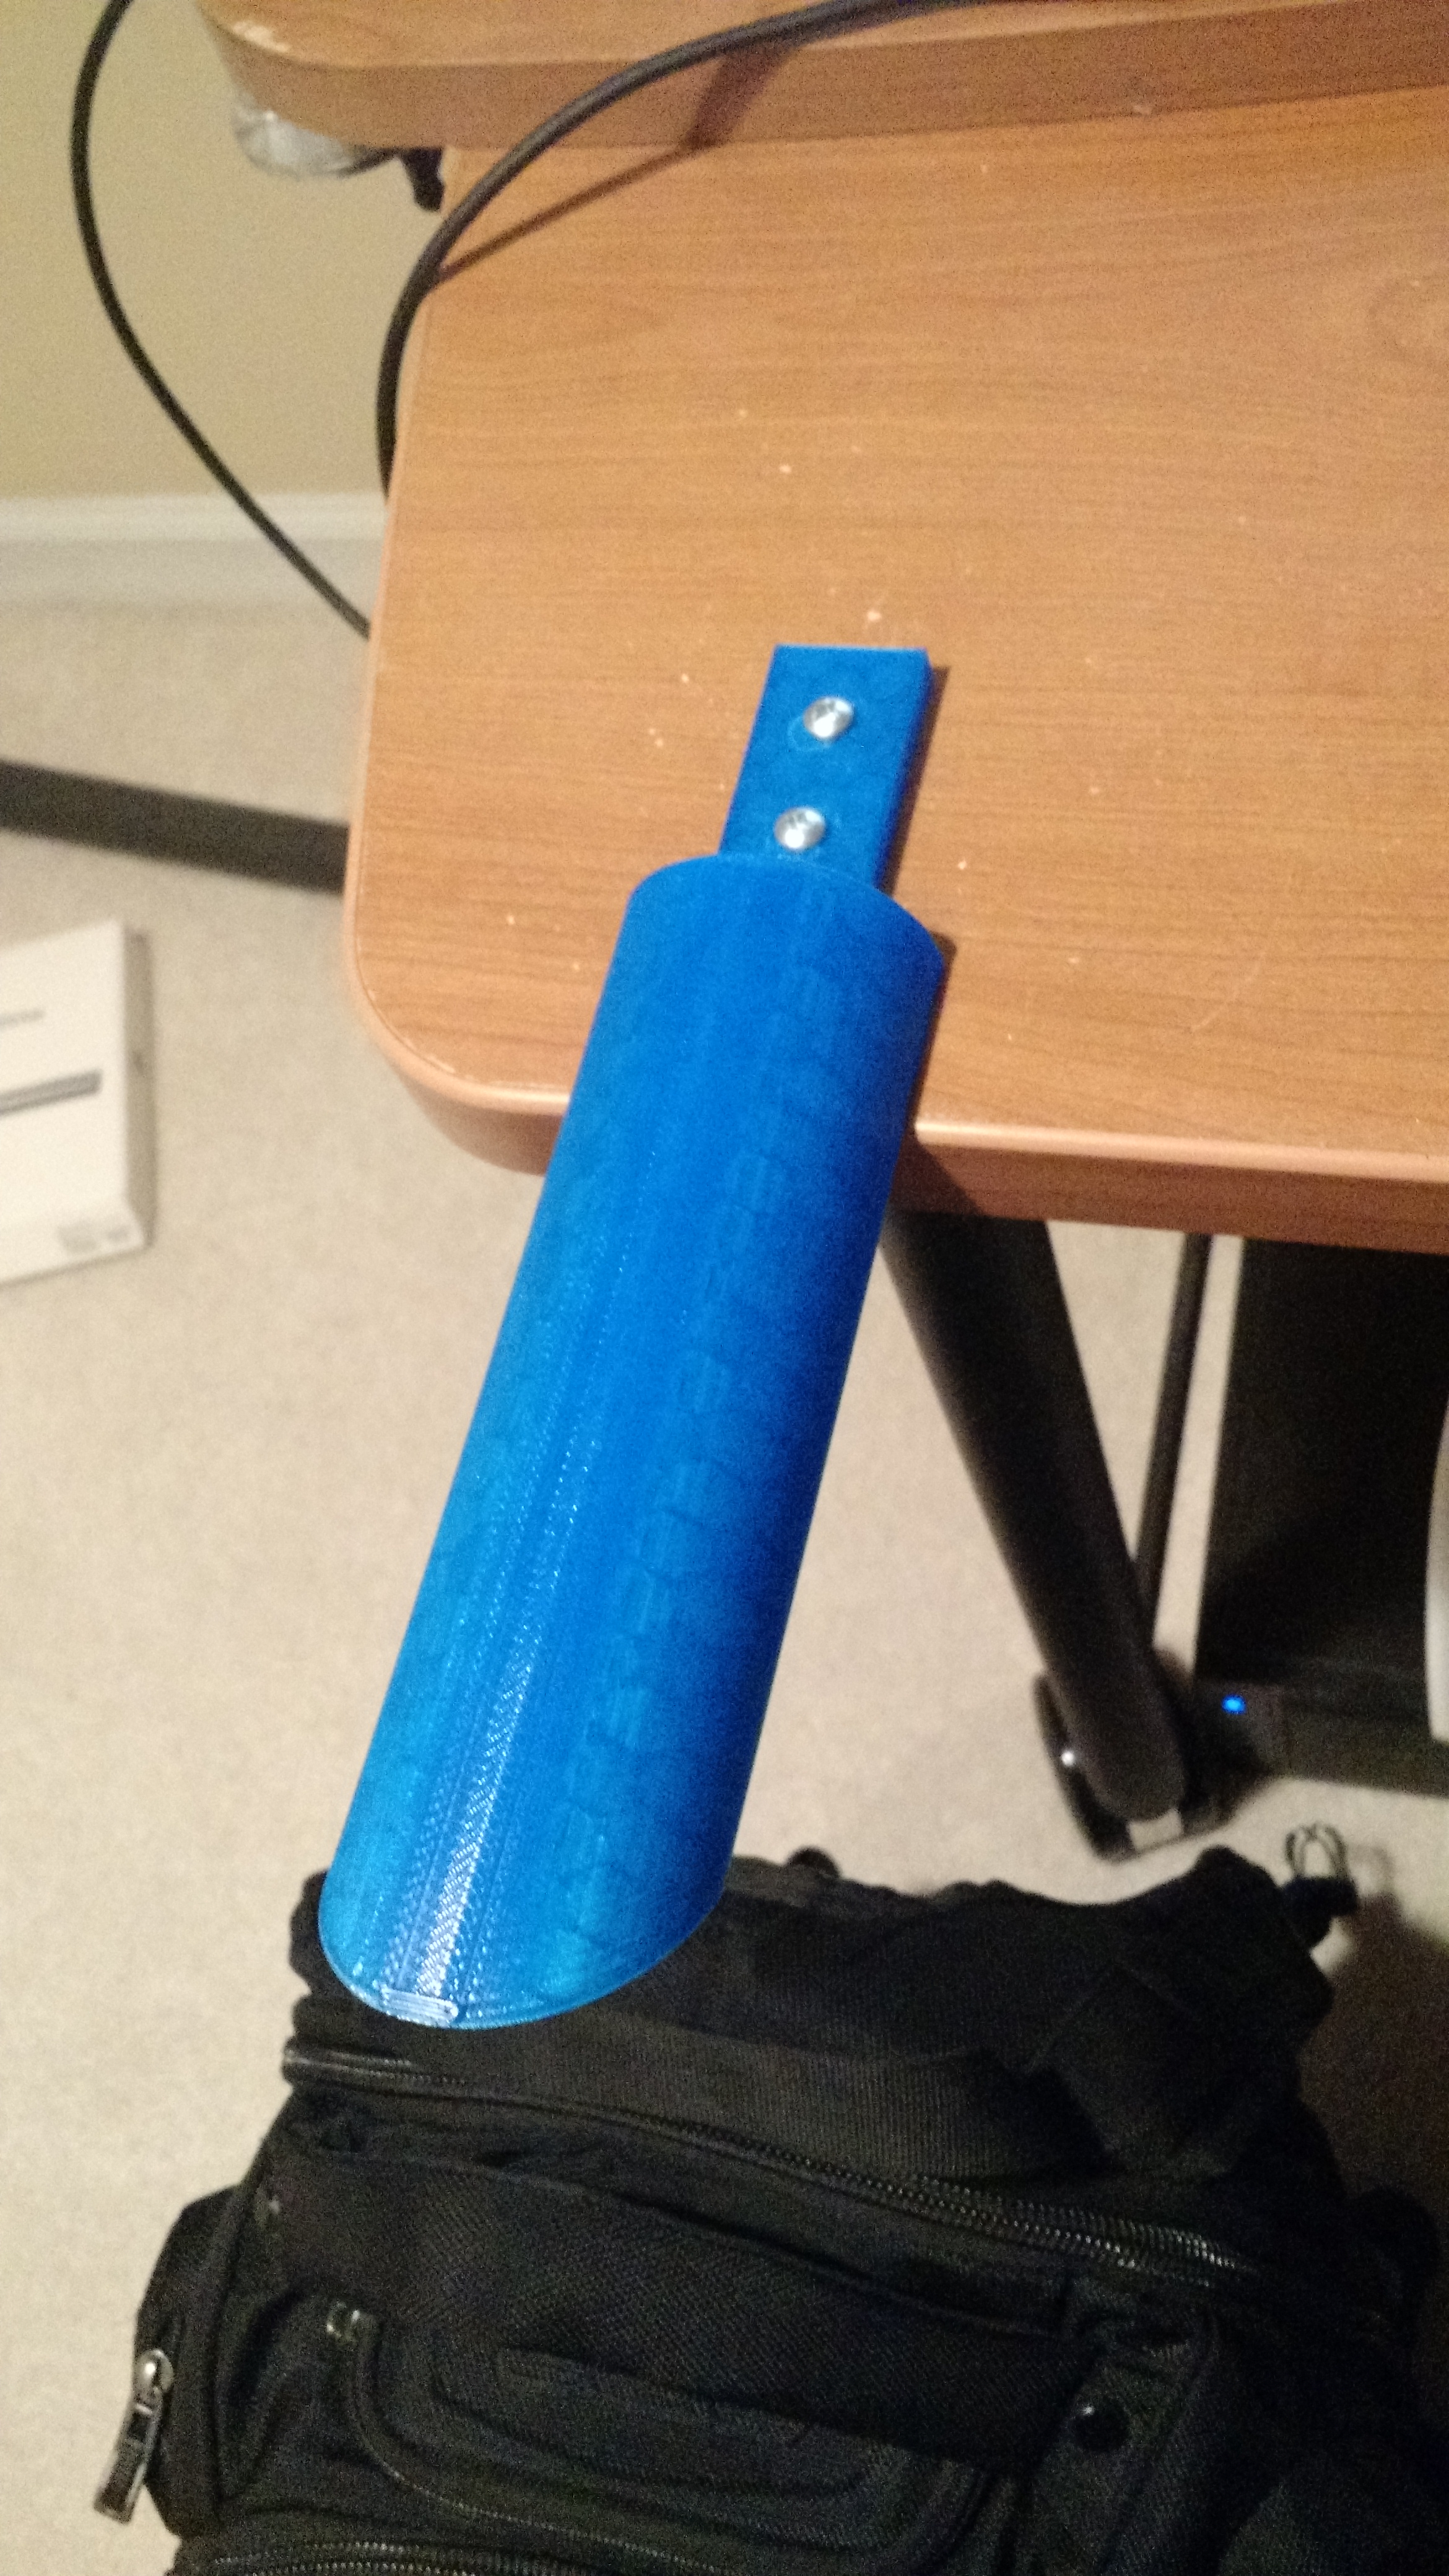
Came home, grabbed a couple of screws, and screwed it right into the desk:
Put a pair of headphones onto it, and I have to say, this is not too shabby:


After three hours, the stand is finally printed:
Came home, grabbed a couple of screws, and screwed it right into the desk:
Put a pair of headphones onto it, and I have to say, this is not too shabby:
I was looking at a couple of videos form LinusTechTips, and I stumbled upon his headphone design contest. One of the designs has a nice angle forward that gave it a very streamlined look.
Obviously, I wanted that.
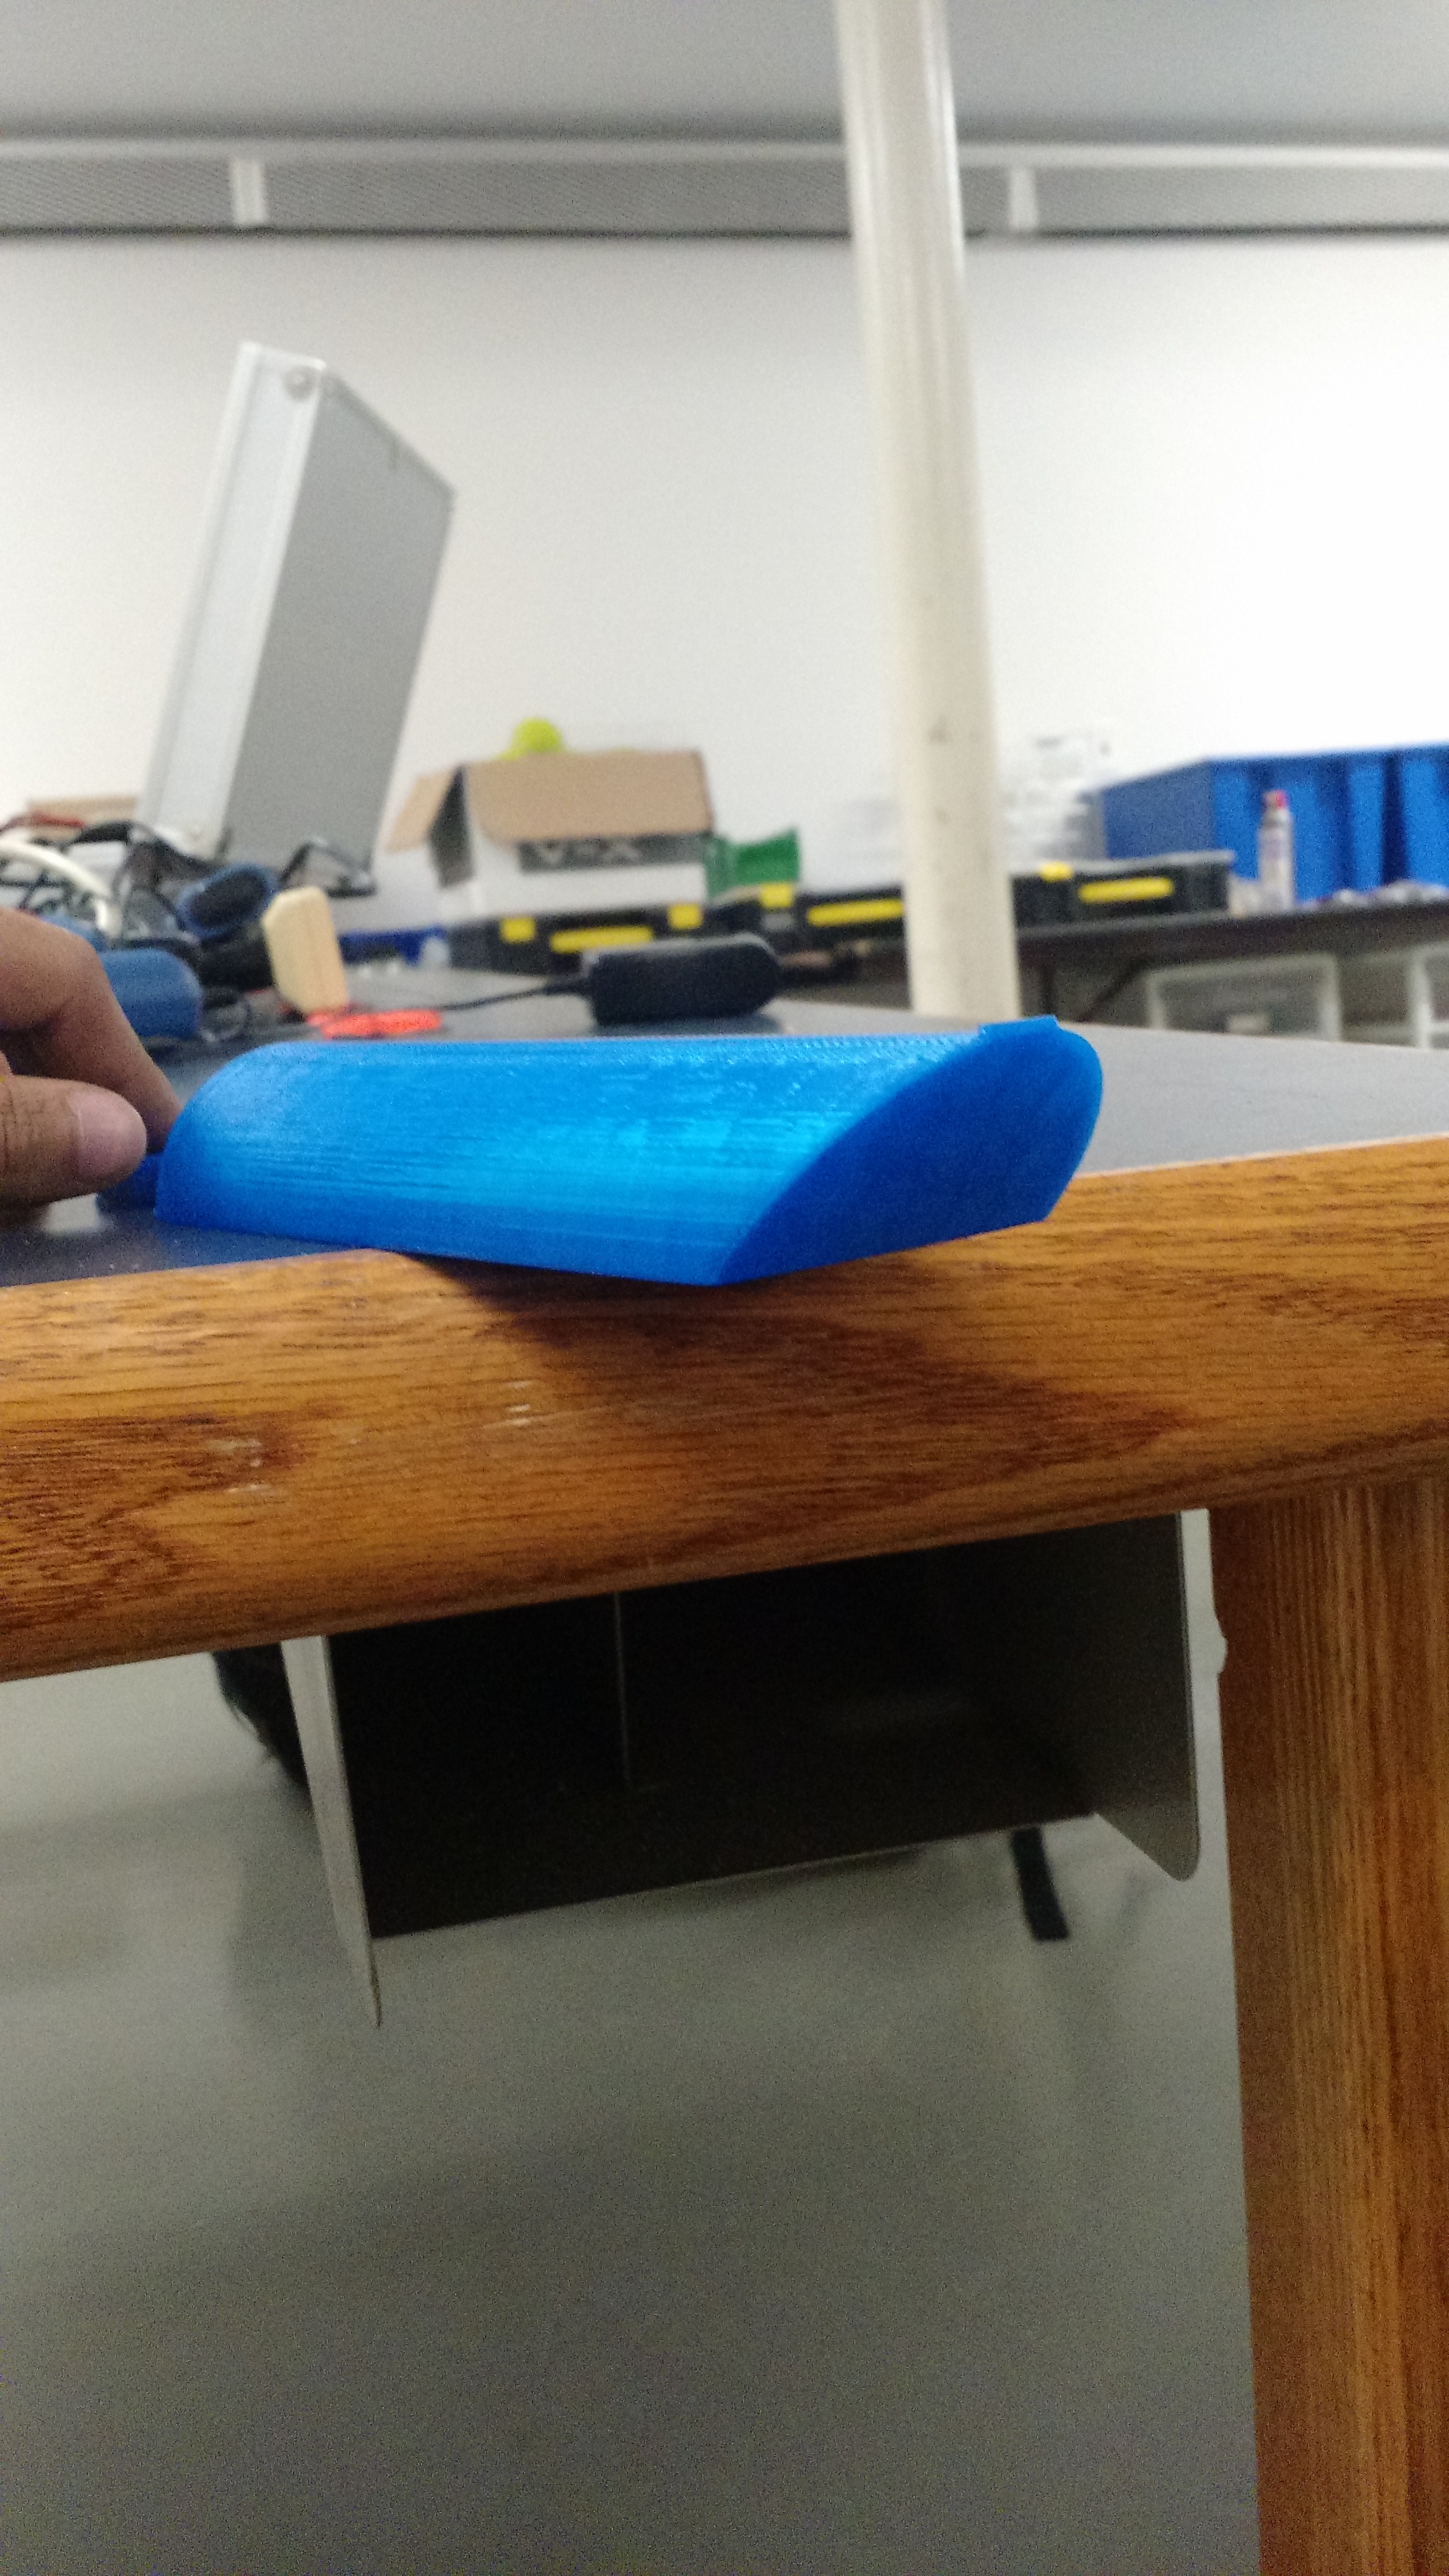
I added a 45 degree cut to the end, and I’m really satisfied with the product:
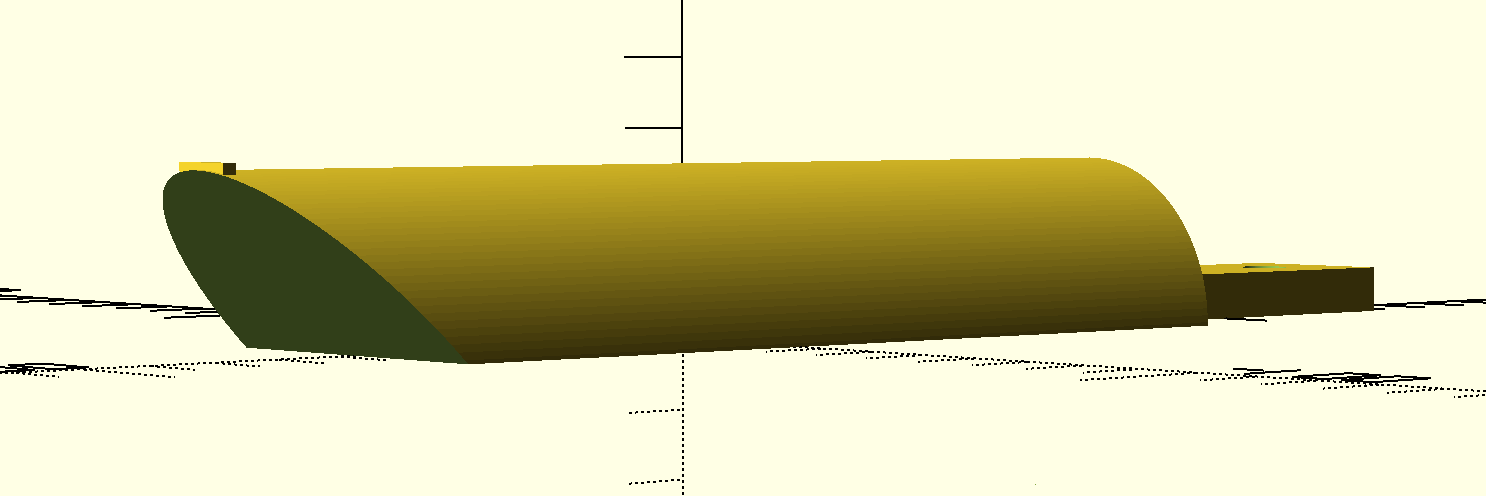
I was a bit concerned that the printer wouldn’t print the angle, but my teacher told me it should be fine.
I plan to print this today, pretty excited!
All of my code is available at my github.
I recently moved in to a new home, I decided that it would be a good time to finally have a place to put my headphones. I wanted to have a pretty basic headphone stand, at least for the moment; so I designed it on the bus.
I wanted to have something that would accomplish the following goals:
For the basic concept, I thought that a half-log like structure would do pretty well to achieve the tasks. However, I also wanted to have a stand that would be rigid.
I decided on a design that would be placed on top of my desk, and screwed in. The main benefits of this design are that, although a bottom mounted stand would look A LOT nicer, all of stress would be on the screws that are holding the stand to the desk. Instead, I’m going with a top-mounted stand, in which 25% of the stand will rest on the stand, and there will be a little plate that gets screwed into the desk. This will make the stress more distributed and result in less of a chance of the whole structure breaking.
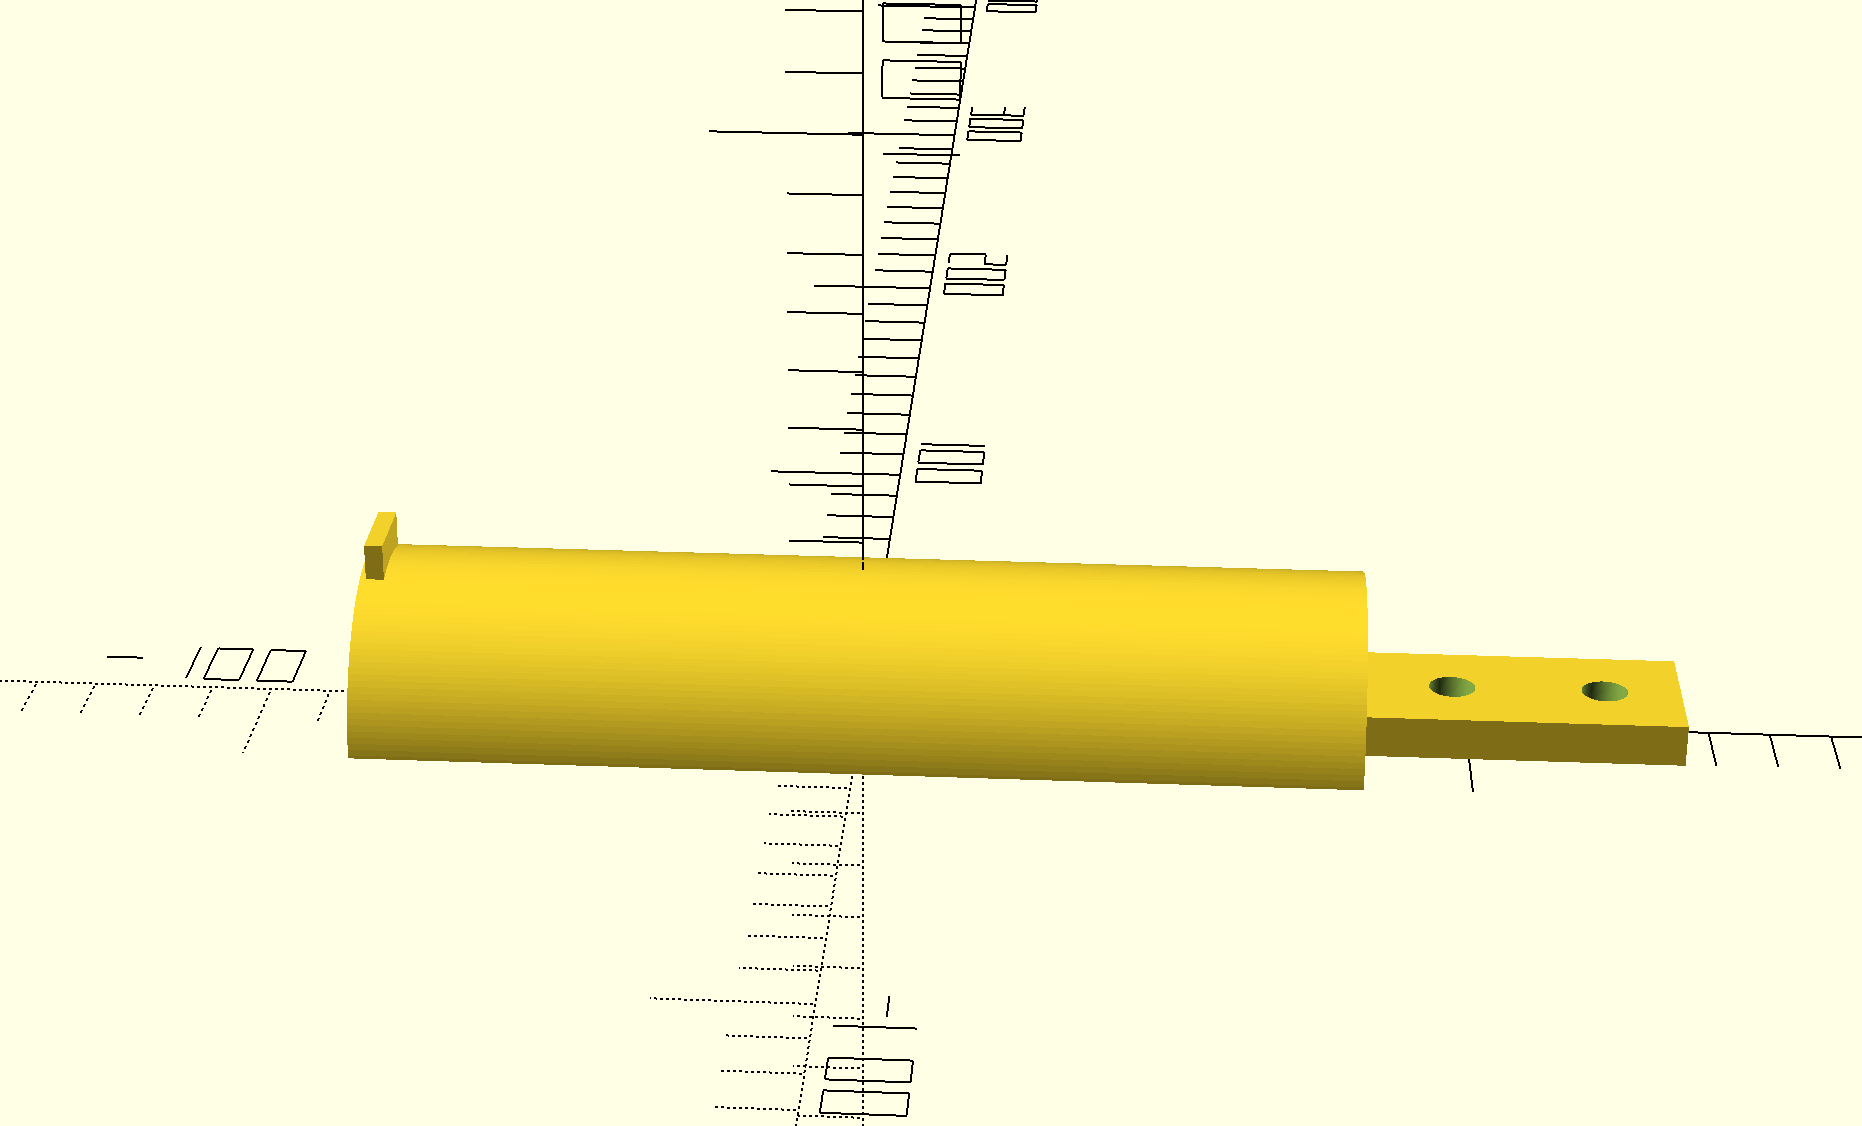
I got cracking, and made a basic sketch (This was done in OpenScad, if you are wondering):

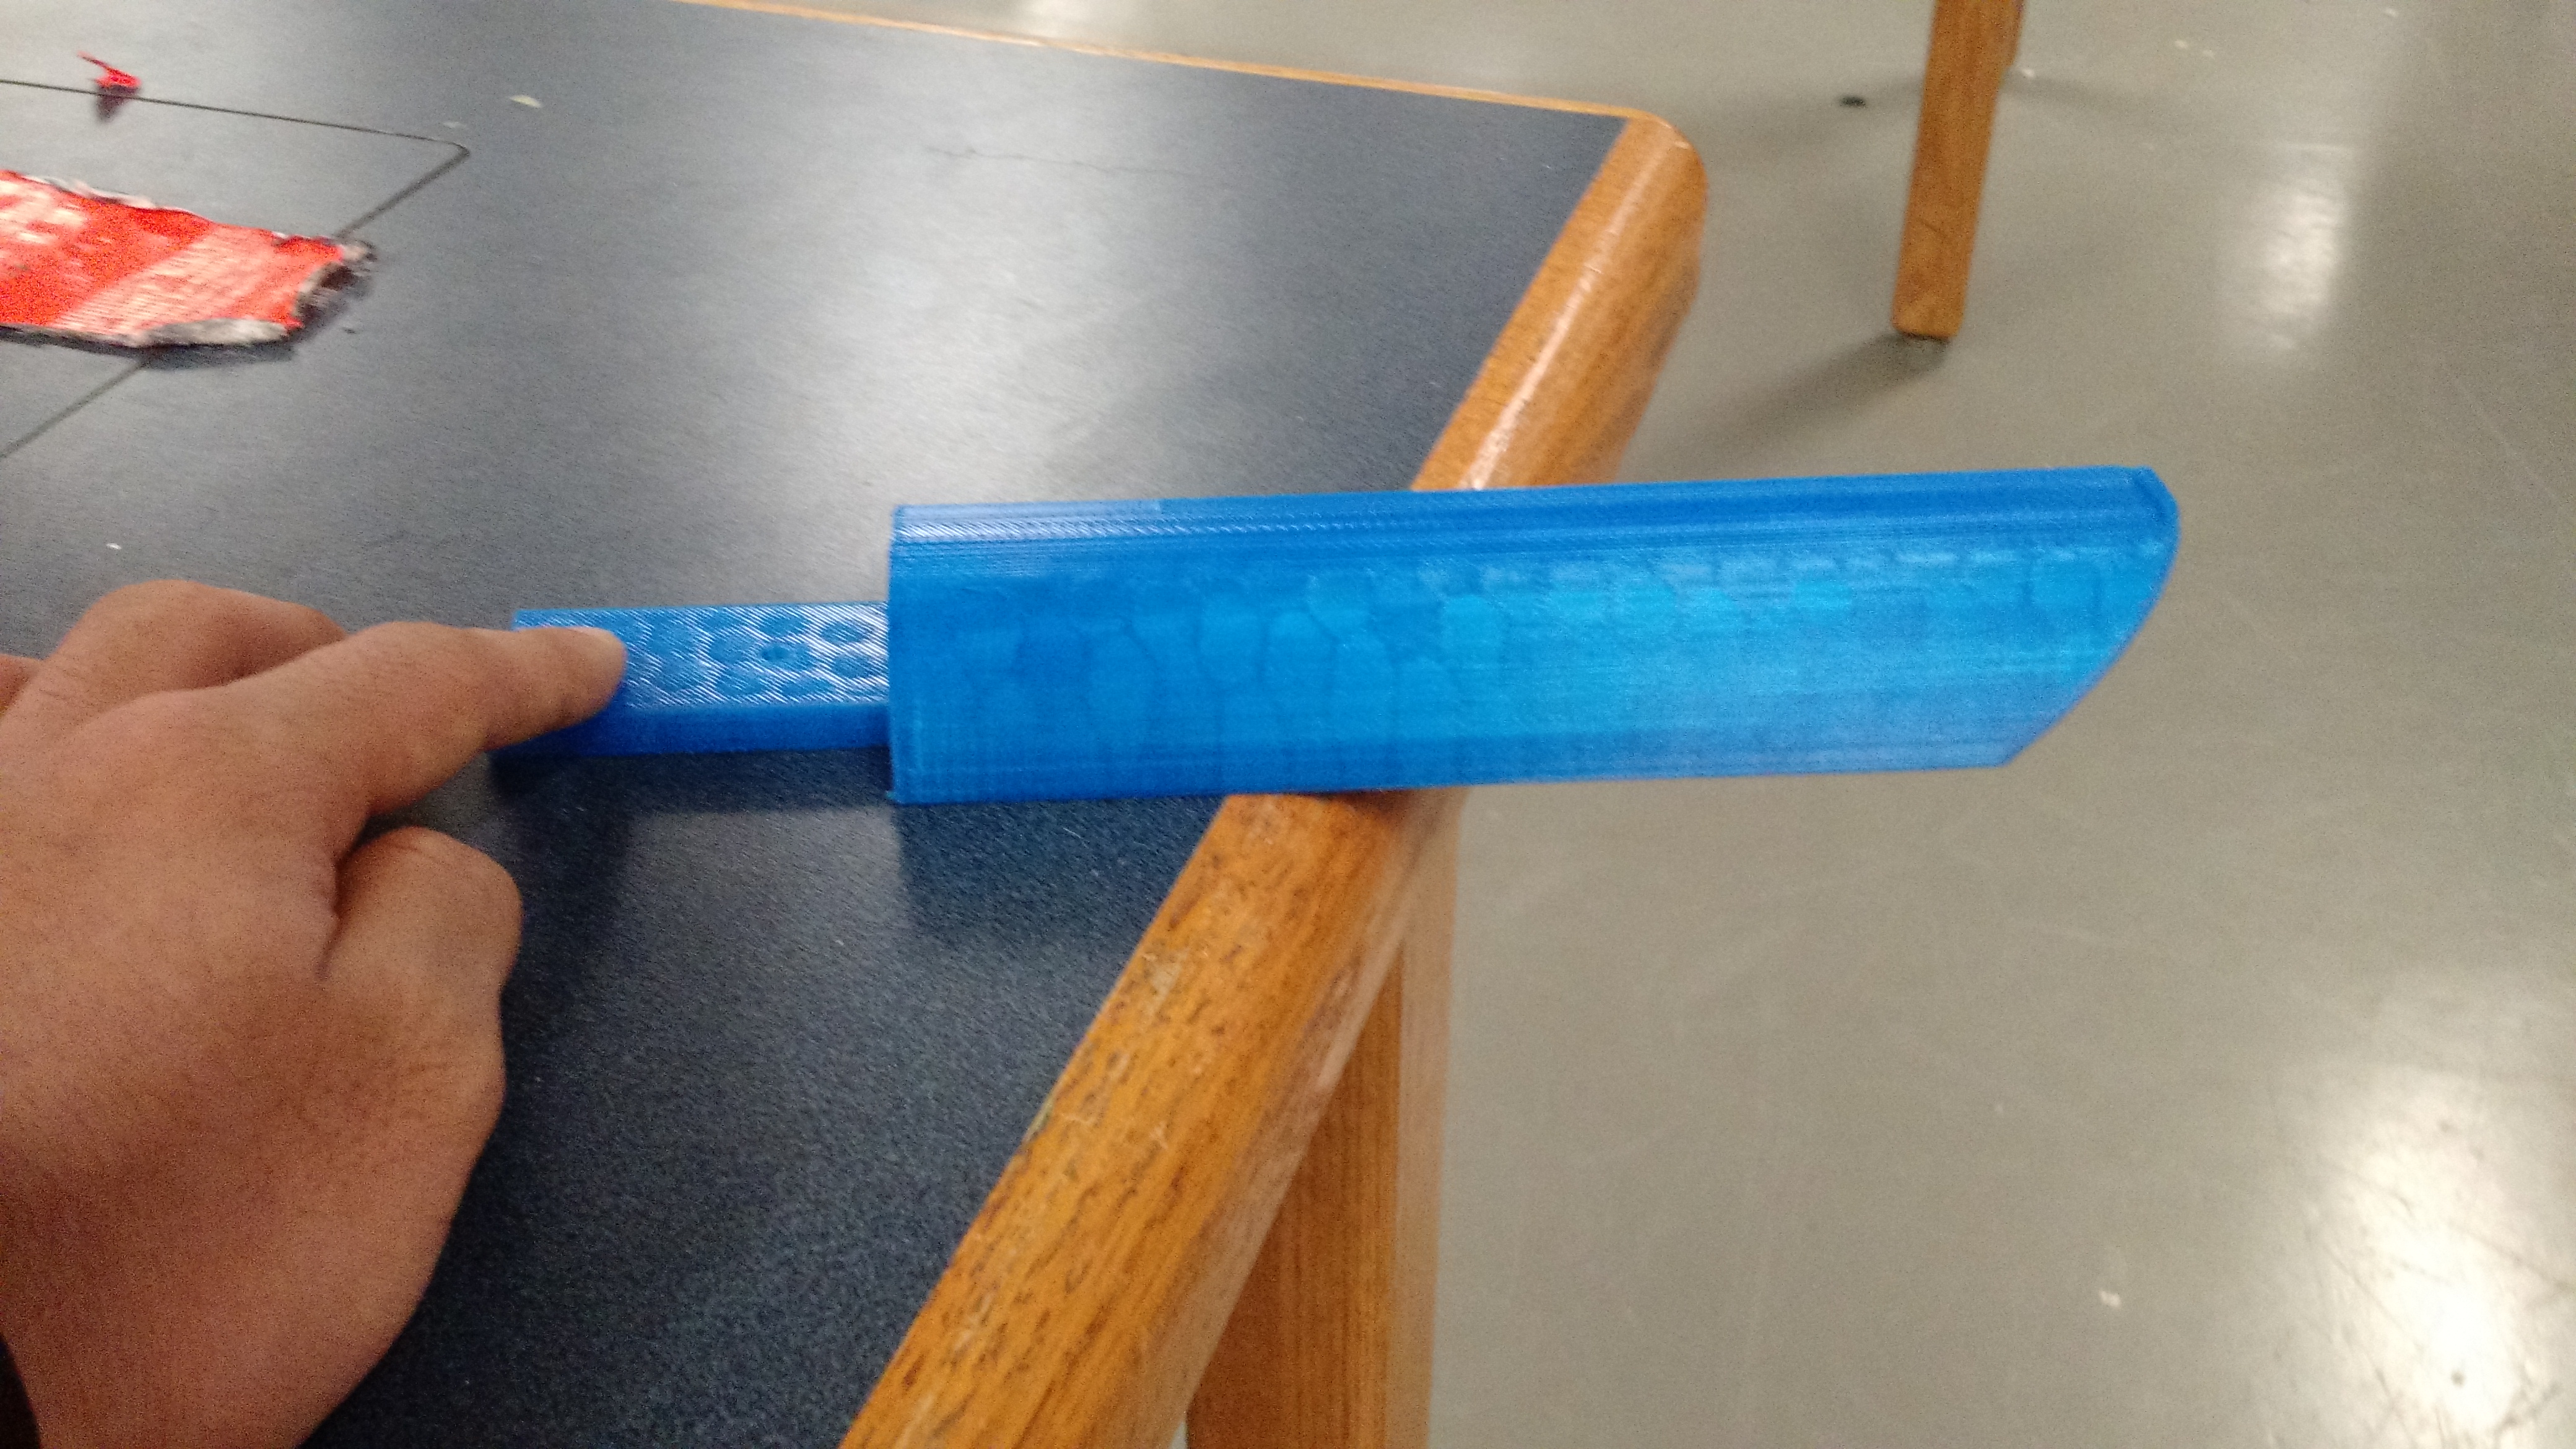
My friend then pointed out that over time, the structure will end up bending, or from some impact to the stand, and the headphones have a potential to fall off (shoutout to @JonathanJalajas). To account for this, I added a little nub at the end so the headphones won’t fall off:
The way I programmed this, all of the values are variables, so the design will change very easily. I simply plugged in the numbers that I wanted (in mm), and hit the render button:
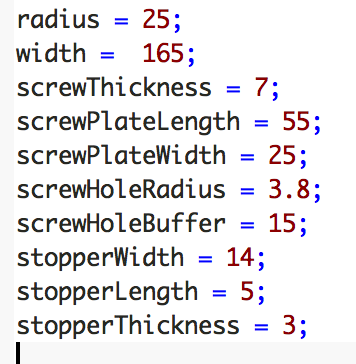
The code for the model above can be found at my github: